
If you are looking into radiant floor heating, the tubing is the part that actually does the work. Hot water runs through loops of tubing laid under or inside your floor, and that is what warms the room from the ground up instead of blowing air around. A lot of homeowners ask the same question before they commit: how does radiant floor heating tubing actually get installed, especially in a house where the floor is already down?
The answer depends on whether you are pouring a new floor, adding onto a slab, or retrofitting tubing under an existing subfloor. Each method gets the water close enough to the surface to heat the room evenly. So the installer’s real job is choosing the right layout and spacing for your specific space, not just running tube in a straight line.
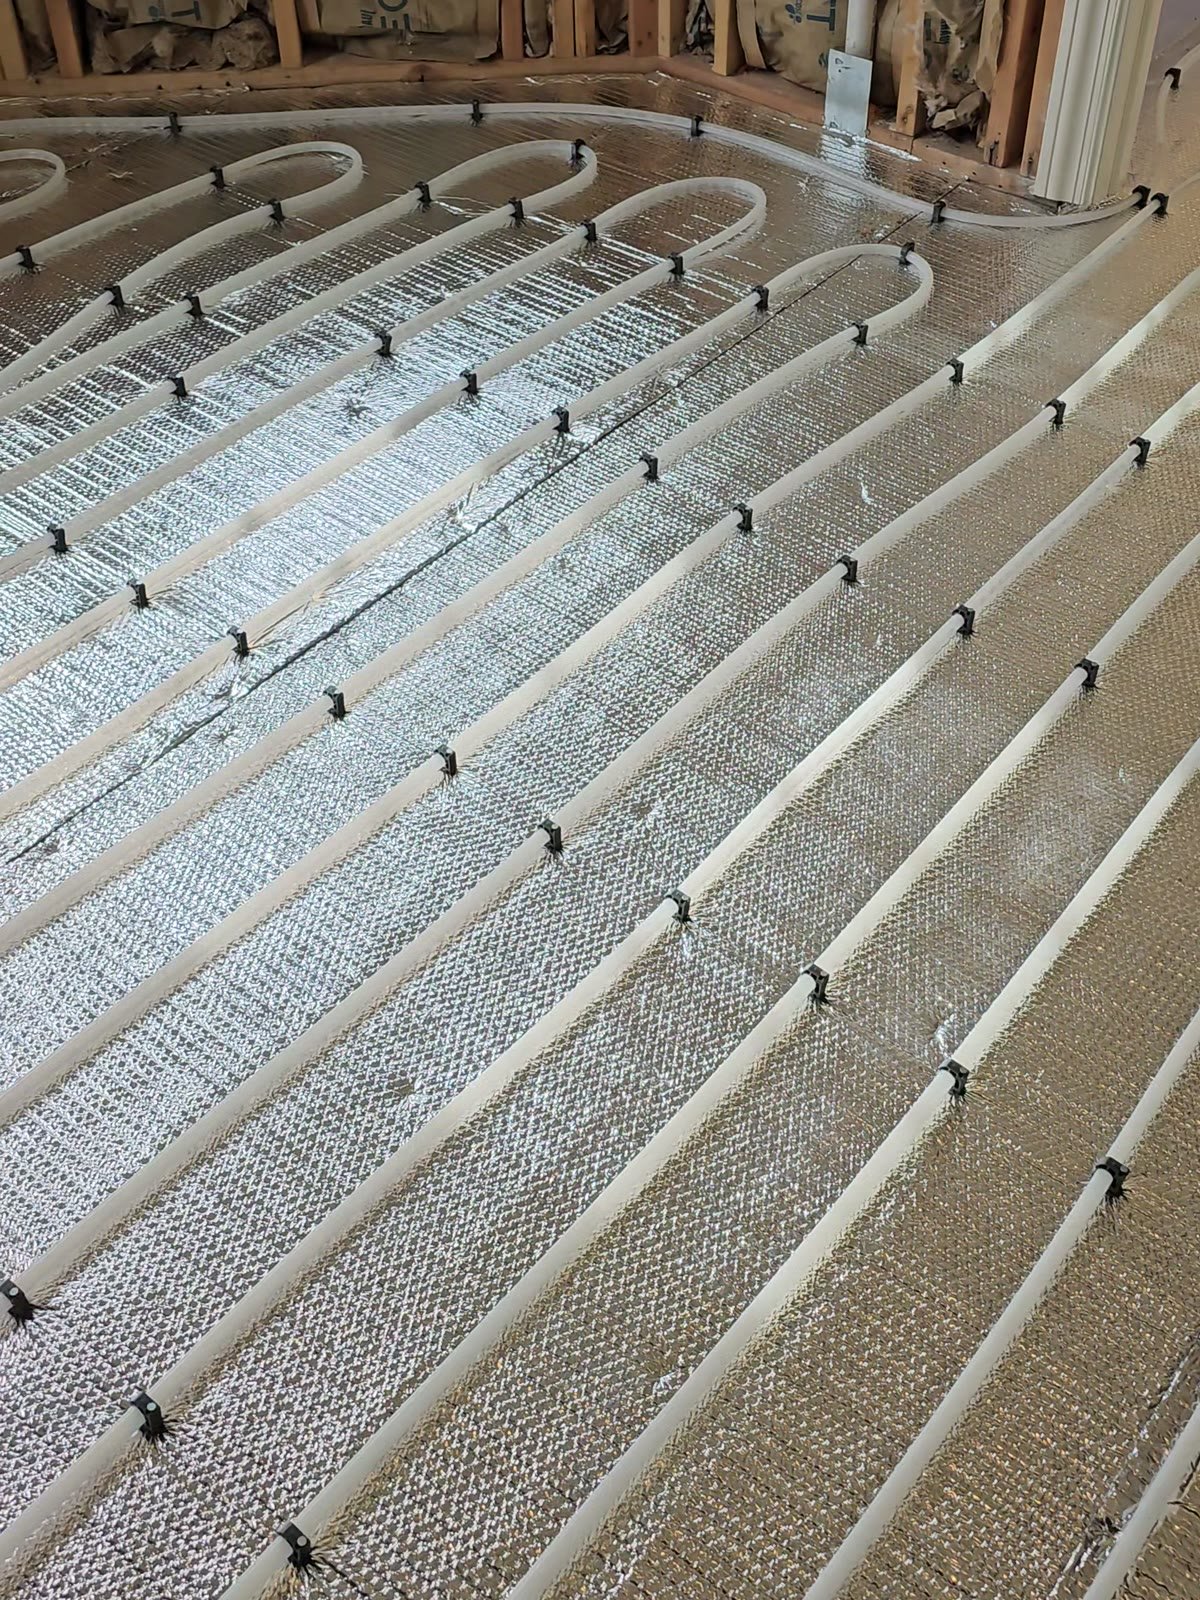
How radiant floor heating tubing is actually installed
There are a few common methods. In a poured slab, the tubing gets tied down to wire mesh or rebar before the concrete goes in, so it stays in place during the pour. In a retrofit over an existing subfloor, installers often use aluminum heat transfer plates that sit between the joists or on top of the subfloor, with the tubing pressed into the plates to spread the heat evenly. Either way, the goal is the same: keep the tubing in full contact with a surface that conducts heat well.
Because every room has different heat loss, the loop spacing is not one-size-fits-all. A bathroom with tile and cold exterior walls usually needs tighter spacing than an interior hallway. That means the layout plan matters as much as the tubing itself.
What goes down before the tubing
Insulation goes in first, almost always. Foil-faced rigid insulation or a reflective underlayment sits below the tubing so the heat gets pushed up into the room instead of wasted into the subfloor or the basement below. Without it, the system works much harder to heat the same space.
After that, the installer maps out the loop layout based on room size, flooring type, and where the manifold will connect everything back to the boiler. This is also when they figure out how many separate loops the job needs, since one long loop covering too much floor area will not heat evenly.
What the radiant floor heating tubing layout looks like room by room
Most installs use a serpentine pattern, where the tubing snakes back and forth across the floor, or a spiral pattern that works from the outside in. Installers typically run tighter loops near exterior walls and windows, where heat loss is highest, and space the tubing further apart in interior areas that lose less heat. The tubing gets stapled, clipped, or tied down before the slab is poured or the finished flooring goes on top.
Before anything gets covered up, the system should be pressure tested. The loops get filled and pressurized, then checked for drops that would point to a leak. That step matters because once the floor is closed up, a leak becomes a lot harder to find.
Signs your existing radiant floor heating has a problem
A cold spot in one area of an otherwise warm floor often points to air trapped in that loop or a flow problem at the manifold. If an entire room stays cold while the rest of the house heats normally, that loop may be blocked or shut off. A sudden, unexplained drop in system pressure can mean a slow leak somewhere in the tubing, which is worth having checked before it gets worse.
When to call a plumber for radiant floor heating
New construction or a major renovation is the easiest time to plan a radiant floor heating layout, since the subfloor is open and the tubing can be tied down before anything covers it. Retrofitting an existing floor takes more planning, because the installer has to work around the floor height you already have. We also handle radiant heating repairs, so if a loop is not heating, pressure keeps dropping, or you just want a system looked at before winter, that is a call worth making. Radiant systems tie into the same hot water boilers we service as part of our broader heating system repair work across Bergen County.
Frequently Asked Questions
Related: Hot water baseboard heating · More from our blog